USER GUIDE 21
Using Helper Discs
Large prints can have a hard time sticking, especially models with sharp corners. As all that plastic starts to cool, it shrinks, and when plastic shrinks it pulls away from the platform. In this guide, you will learn how to use helper discs to counteract the peeling and help the first layers of large printer stick firmly.
Step 1
OPEN YOUR MODEL
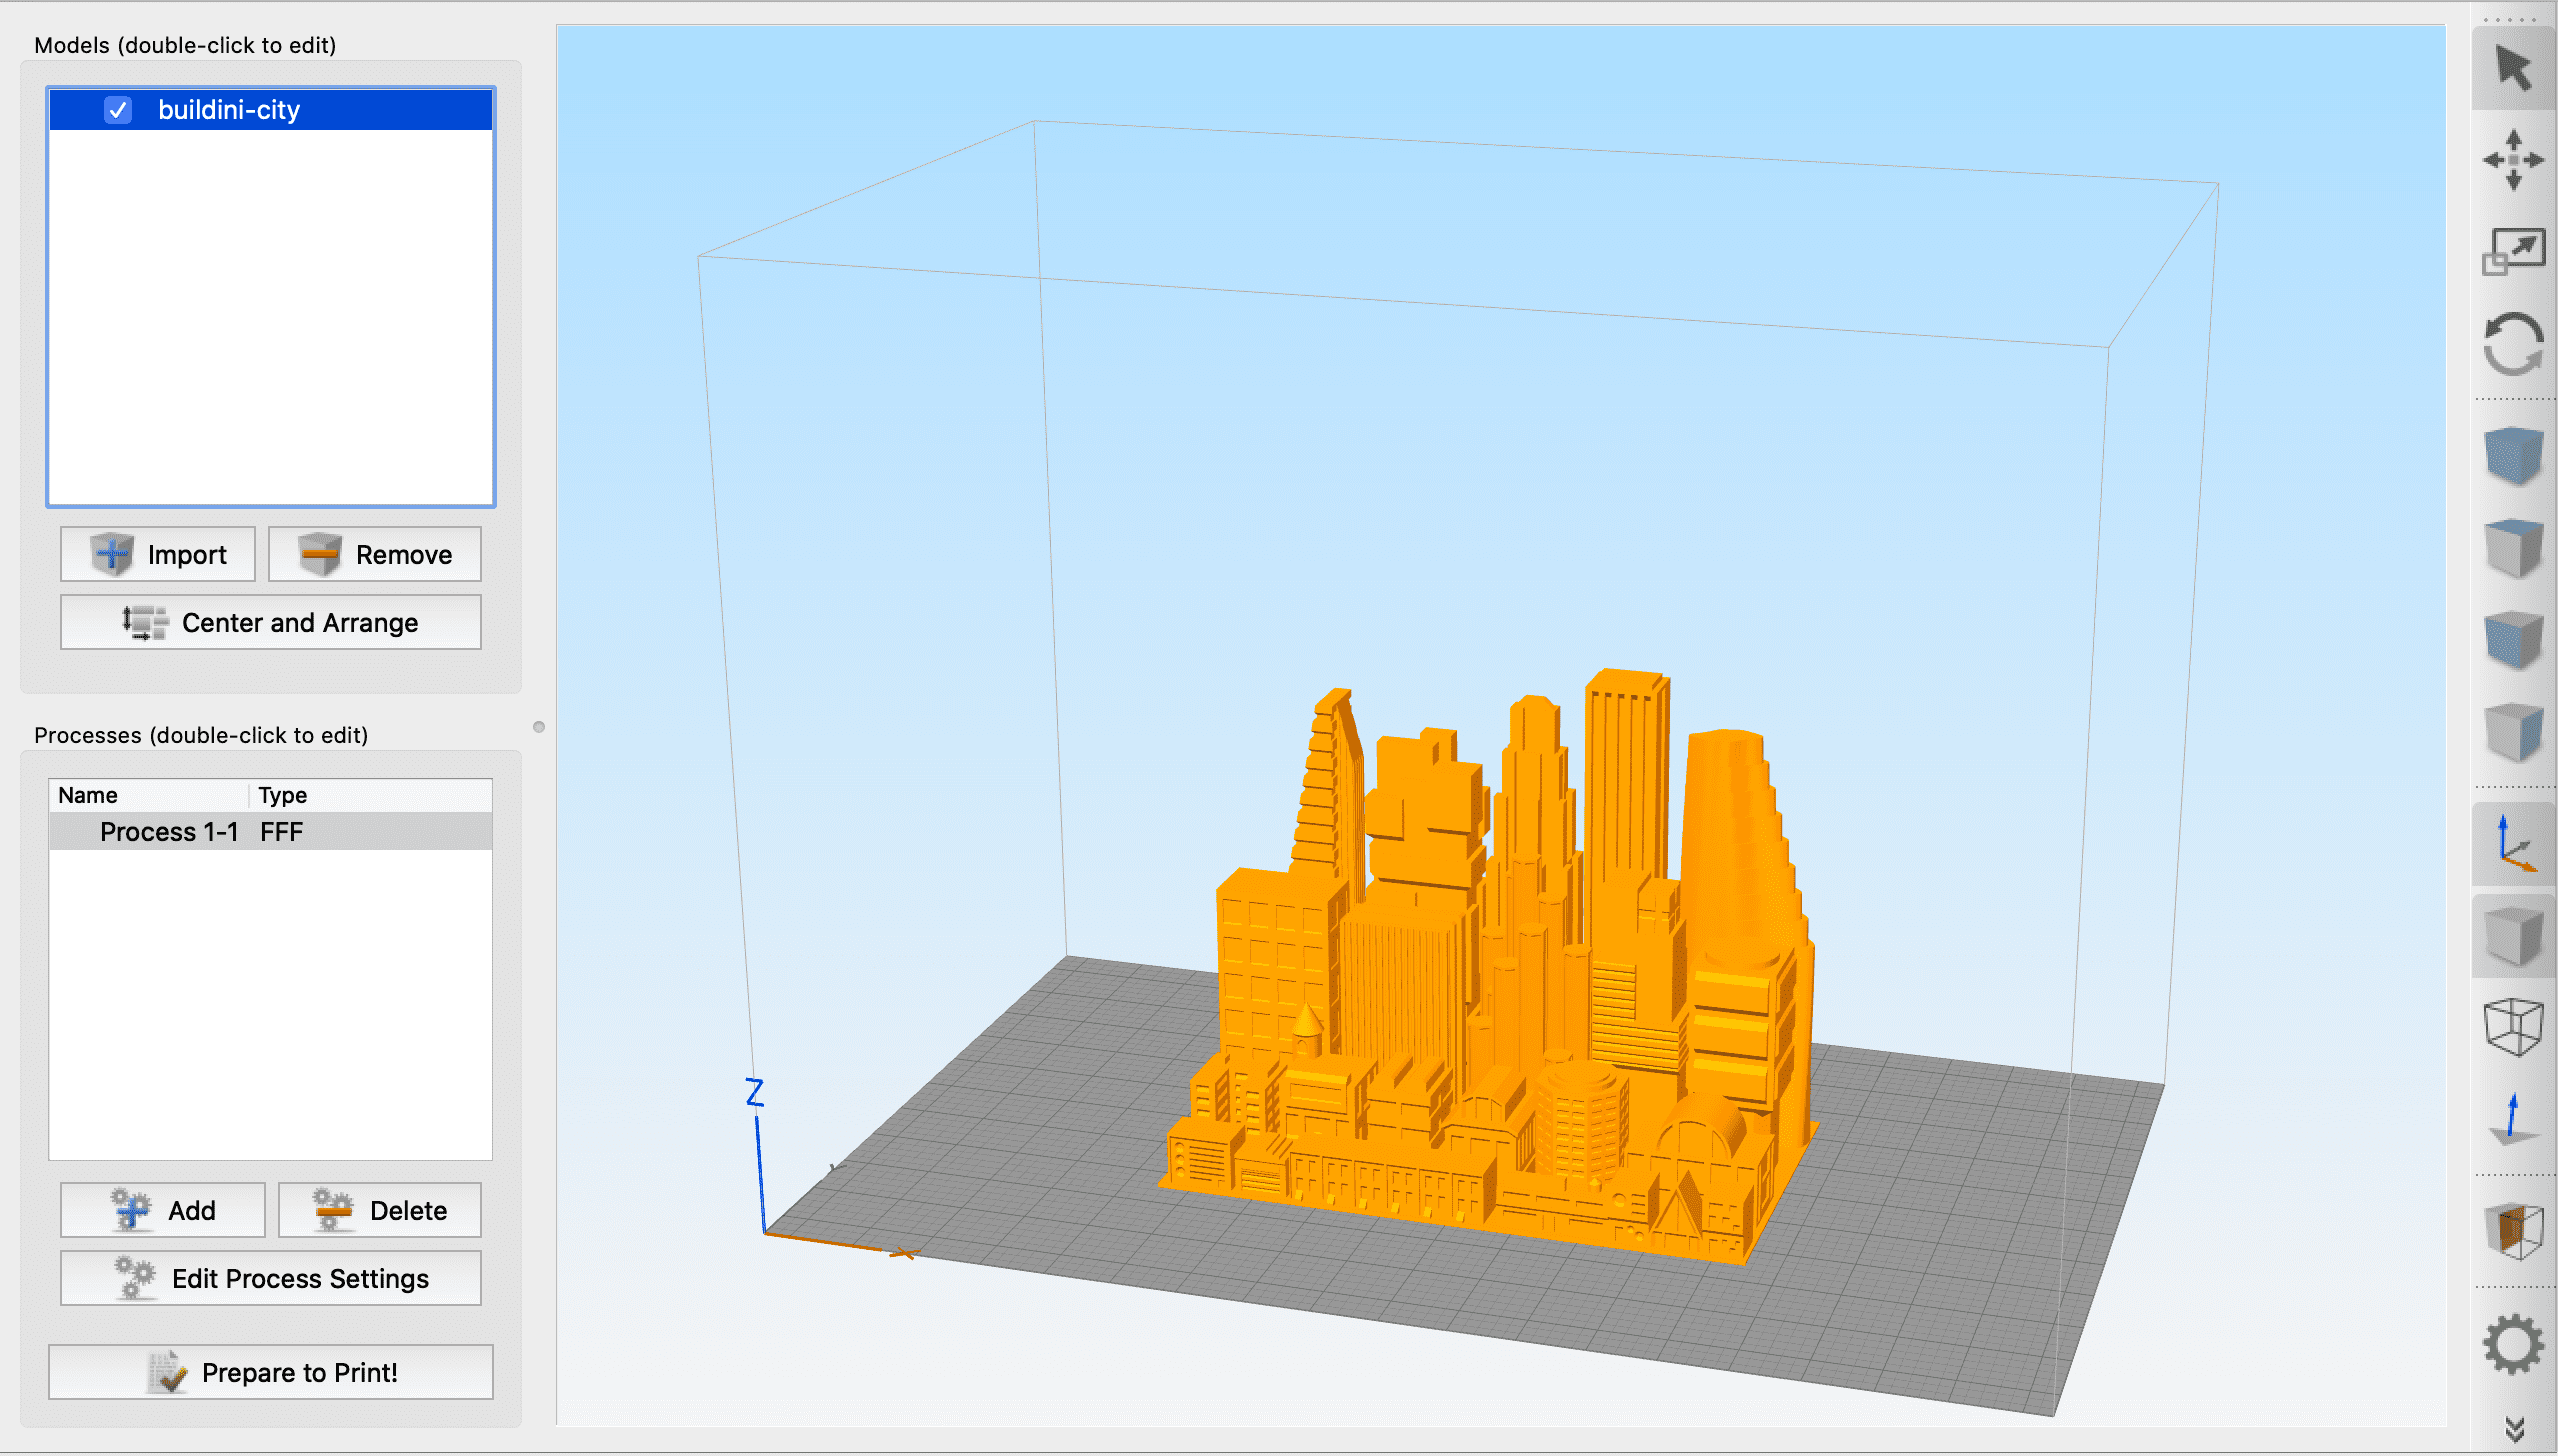
Import your STL file into Simplify3D, orient your model on the build platform, and choose your slicing settings.
Step 2
IMPORT HELPER DISCS
Download the Helper-Disc.STL file and import it into Simplify3D with your 3D model already positioned on the build platform.
Step 3
POSITION HELPER DISCS
[video src="https://www.youtube.com/watch?v=z2EF_e14qg4&rel=0?&vq=hd1080" poster="https://cdn.sanity.io/images/rbhjt84j/production/c7a931752372f1b6aaf4beabffe3be47dfc39ca1-2558x1456.png"]Drag the helper discs so it overlaps with the corner of your model. The ideal placement has roughly one-quarter of the helper disc overlapping with the model. Copy and paste as many helper discs as you need to make sure all corners have at least one helper disc.
Step 4
SLICE AND PRINT
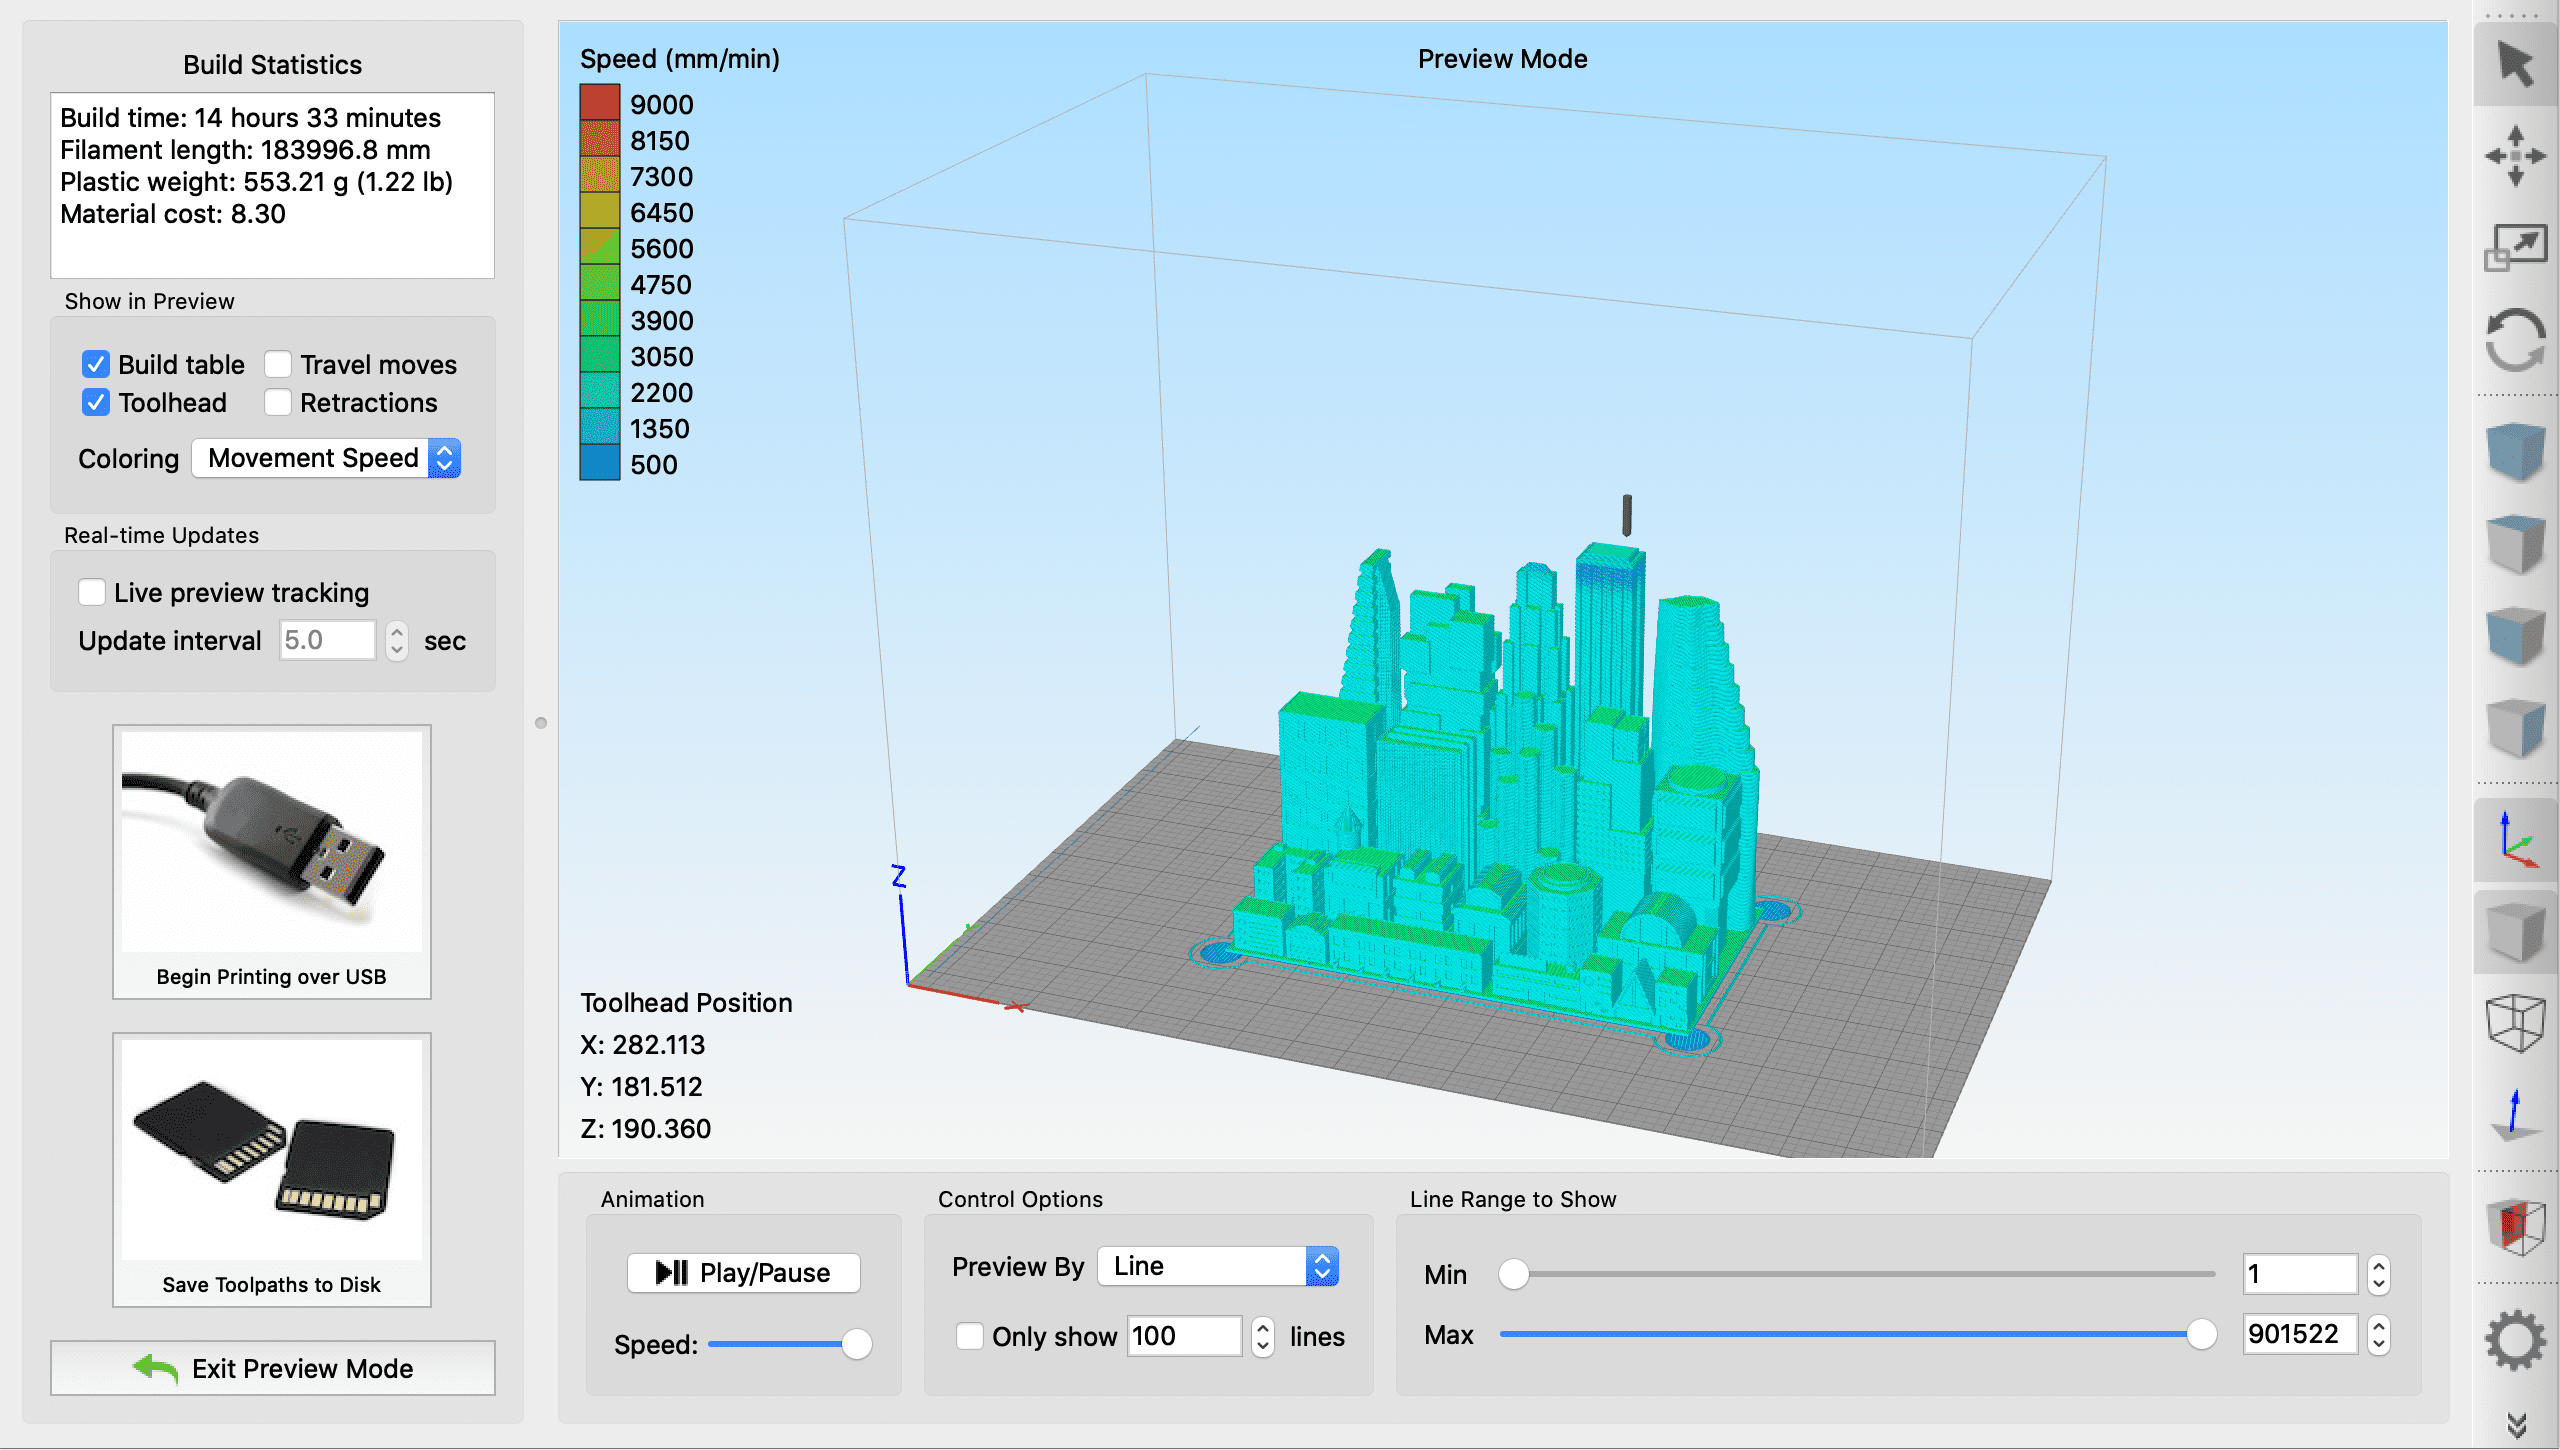
After there is a helper disc at every corner of the model, slice and print your object. When the model finishes printing, the helper discs can be easily removed by hand or by cutting them off.
If you have any questions, please contact our customer support team at hello@budmen.com
PRO-TIP
These small discs will help adhesion by adding more surface area. Use a helper disc anywhere you have trouble with a model adhering. It can be especially helpful to place helper discs at the base of support structures or where thin features are isolated.