USER GUIDE 16
Print Platform Replacement
Are your prints not sticking the way they used to? Is your print surface worn down after hundreds of prints? Does it have tears in it? Follow this step-by-step guide to resurface your Buildini™ PERFECT PRINT SURFACE. Print Platform Replacement
Supplies Needed
1x Surface Applicator
1x Roll of Paper Towels
1x Bottle of 70% Isopropyl Rubbing Alcohol
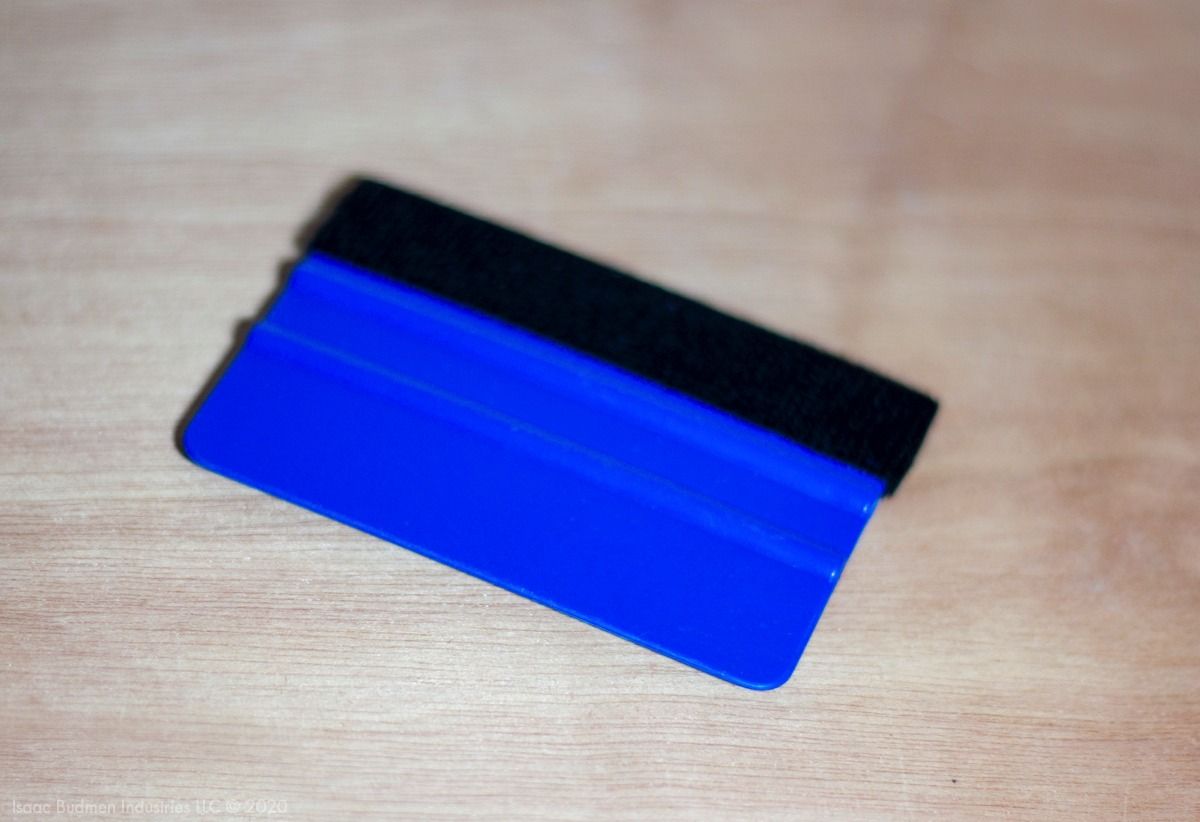
A semi-rigid surface applicator like this one allows for proper installation of the new surface.
Step 1
REMOVE OLD PRINT SURFACE
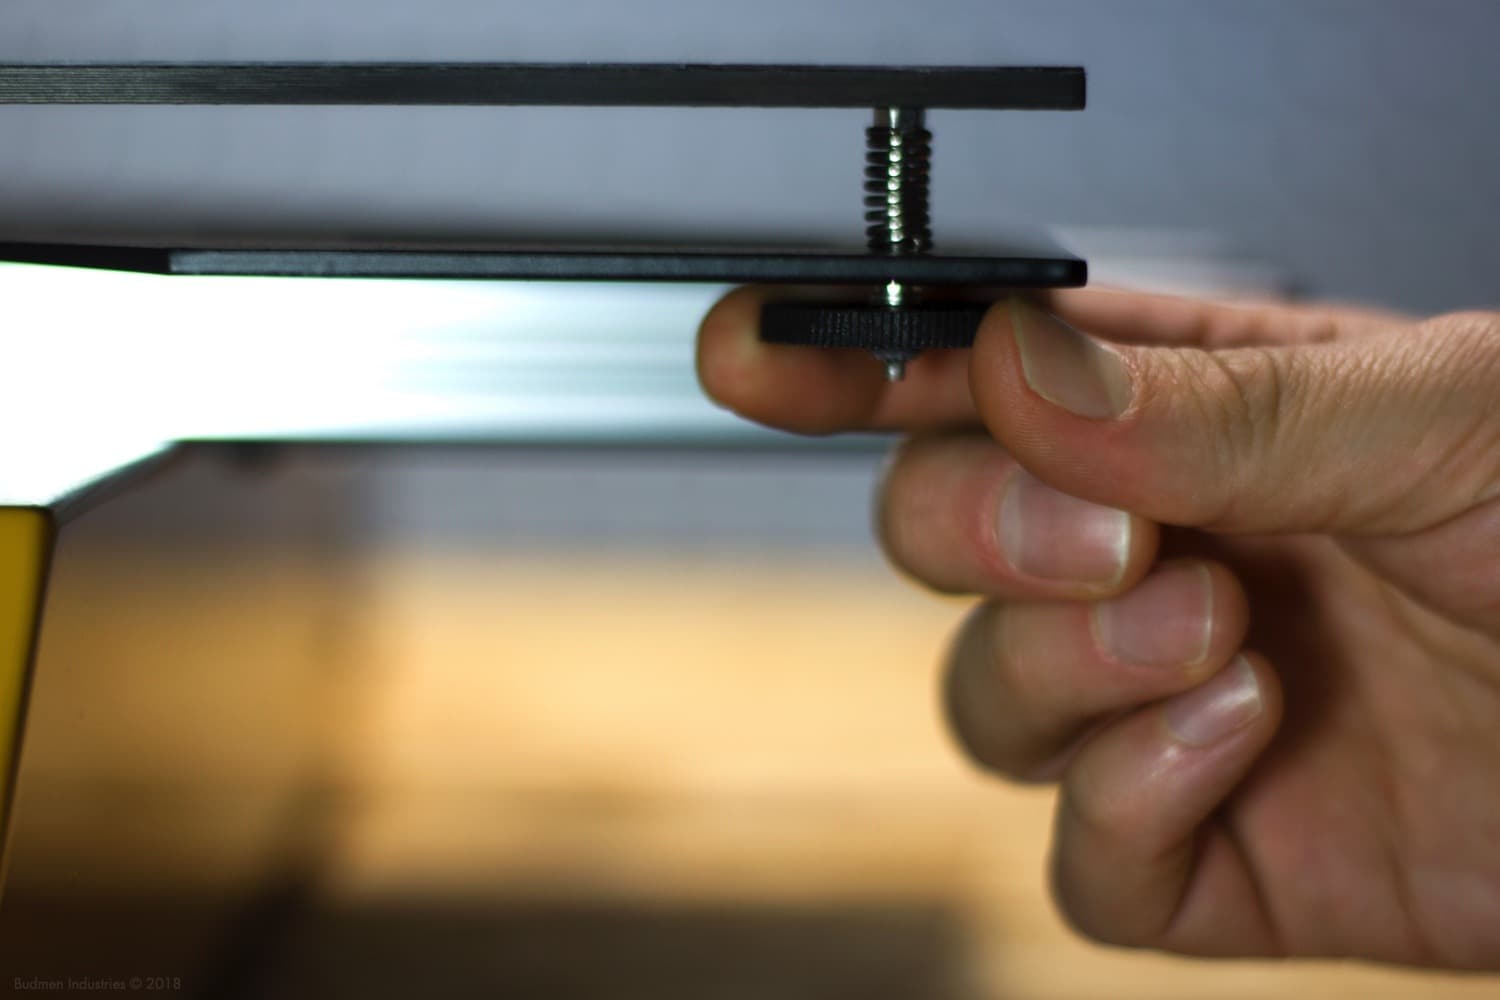
First, unscrew the three knobs underneath the build platform. Lift the surface from the Buildini 3D Printer and place on a sturdy table. Start from one corner and carefully peel away the old print surface from the carbon fiber platform. If you need help getting it started, carefully use your scraper to gently work your way between one corner of the surface and the platform. For an easy and clean removal, peel the surface straight back.
Step 2
CLEAN CARBON FIBER PLATFORM
Using a fresh paper towel or several, thoroughly wipe down the surface with 70% isopropyl rubbing alcohol and remove any residue left from the old print surface. This may take awhile, depending on how long you had the surface on for. It is very important you have a clean carbon fiber plate. Any residue, dust, pieces of filament or other debris left behind will end up under your new surface and will cause issues. When you are confident the carbon fiber platform is clean, move to the next step.
Step 3
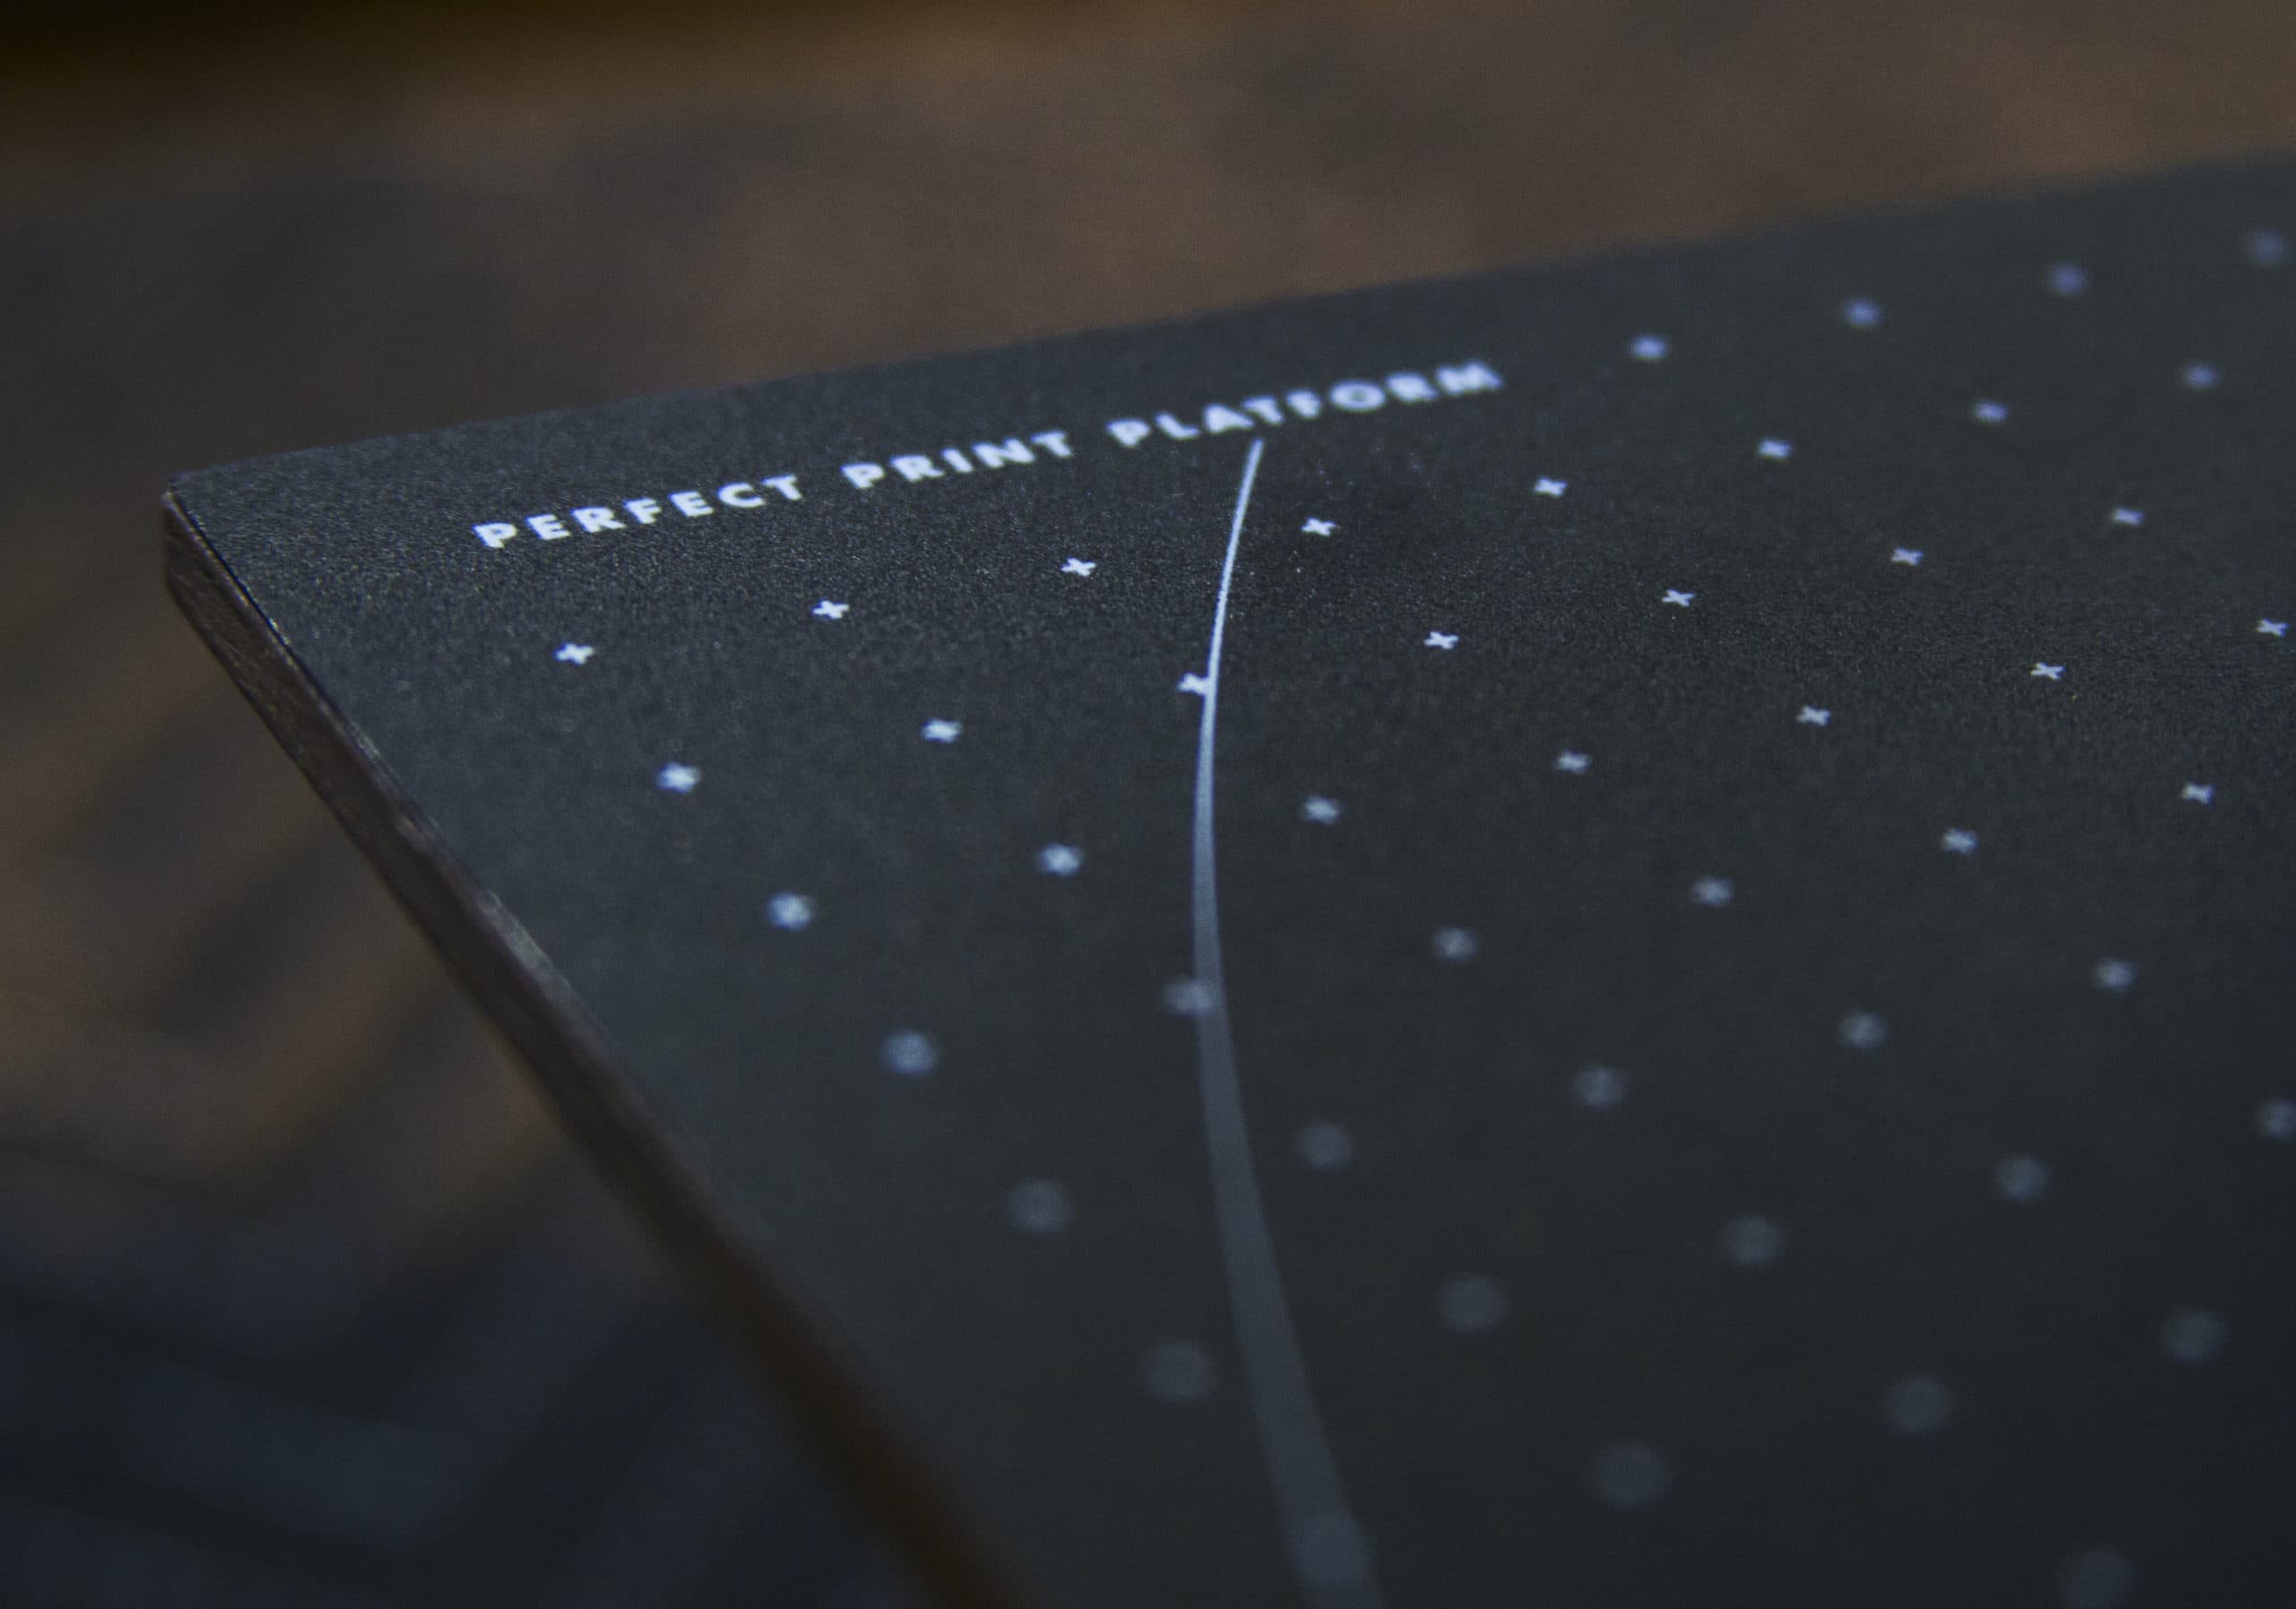
ORIENT NEW PRINT SURFACE
The print surface has a specific orientation. Line up the three white circles with black crosses with the three screws underneath the platform. For an easy reference, the Budmen logo will be in the front right corner of the machine.
Step 4
APPLY NEW PRINT SURFACE
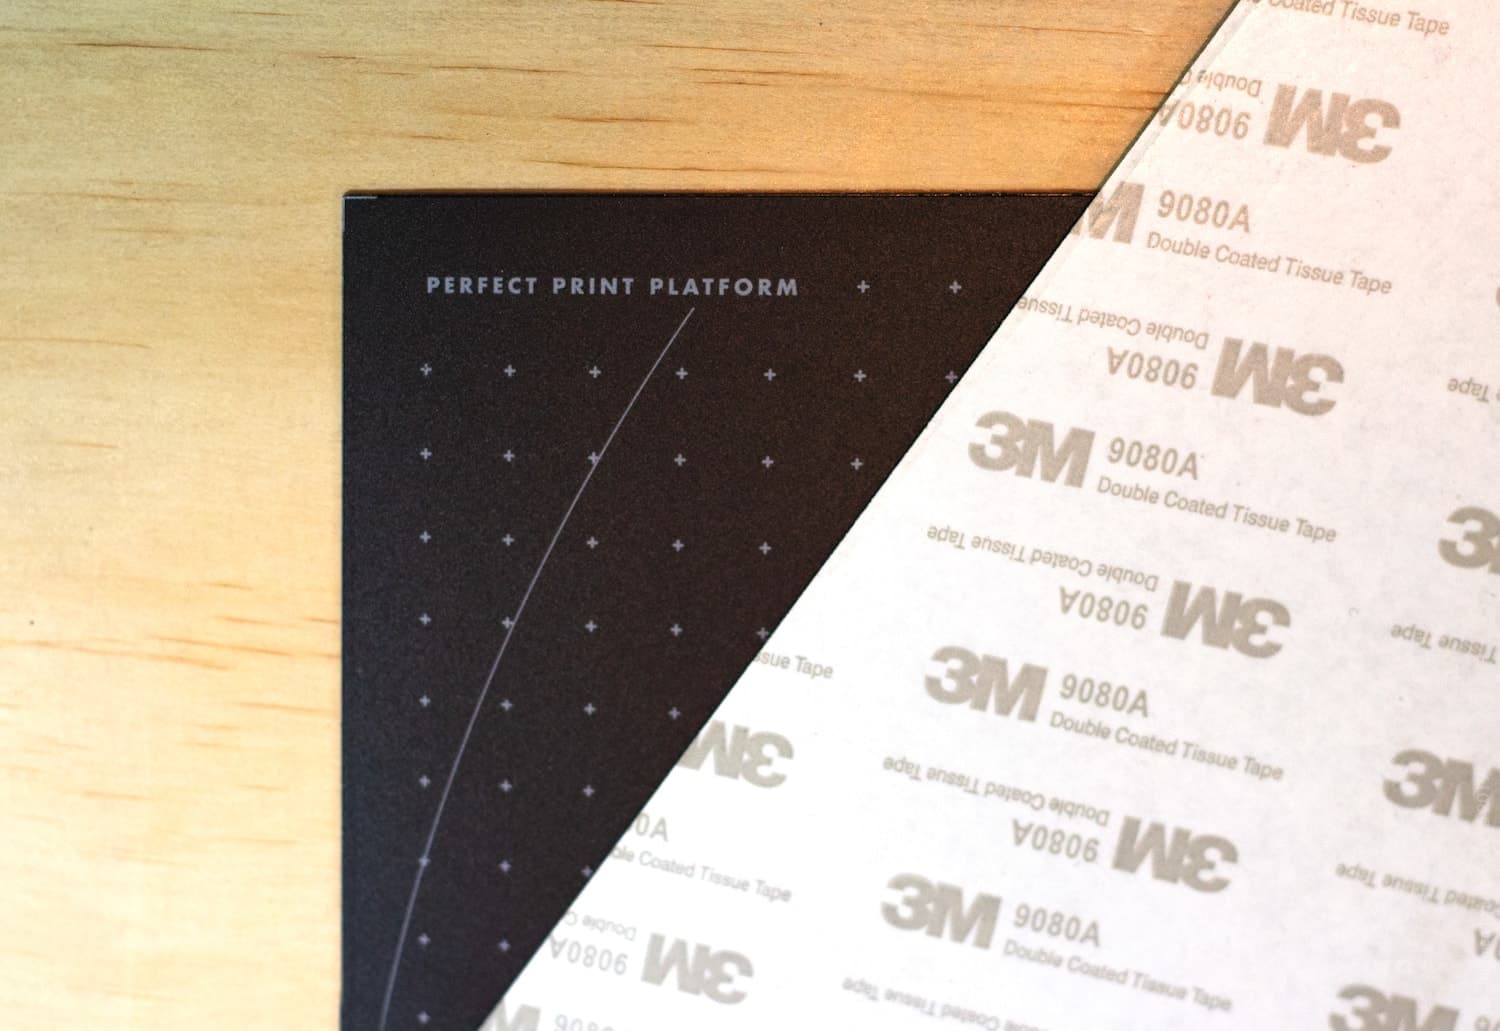
Starting from one corner, peel back the 3M surface backing and place a corner of the new surface on the carbon fiber platform. As you slowly work your way across the build platform, smooth the surface with your scraper to remove any bubbles.
That's it, your new surface is ready to go!