USER GUIDE 2
Changing Filament
Step-by-step guide to unload/load filament on your 3D printer.
Step 1
PREHEAT THE MACHINE
From the Main Menu on the LCD Screen, navigate to Control and click the Spin-N-Select Knob to select.
From the Control menu, navigate to Temperature and click the Knob again.
For your selected Filament type, set the machine to the temperature listed in the chart below. For more Filament temperatures, refer to Filament Settings under the Reference Materials or check your filament manufacturer specifications.
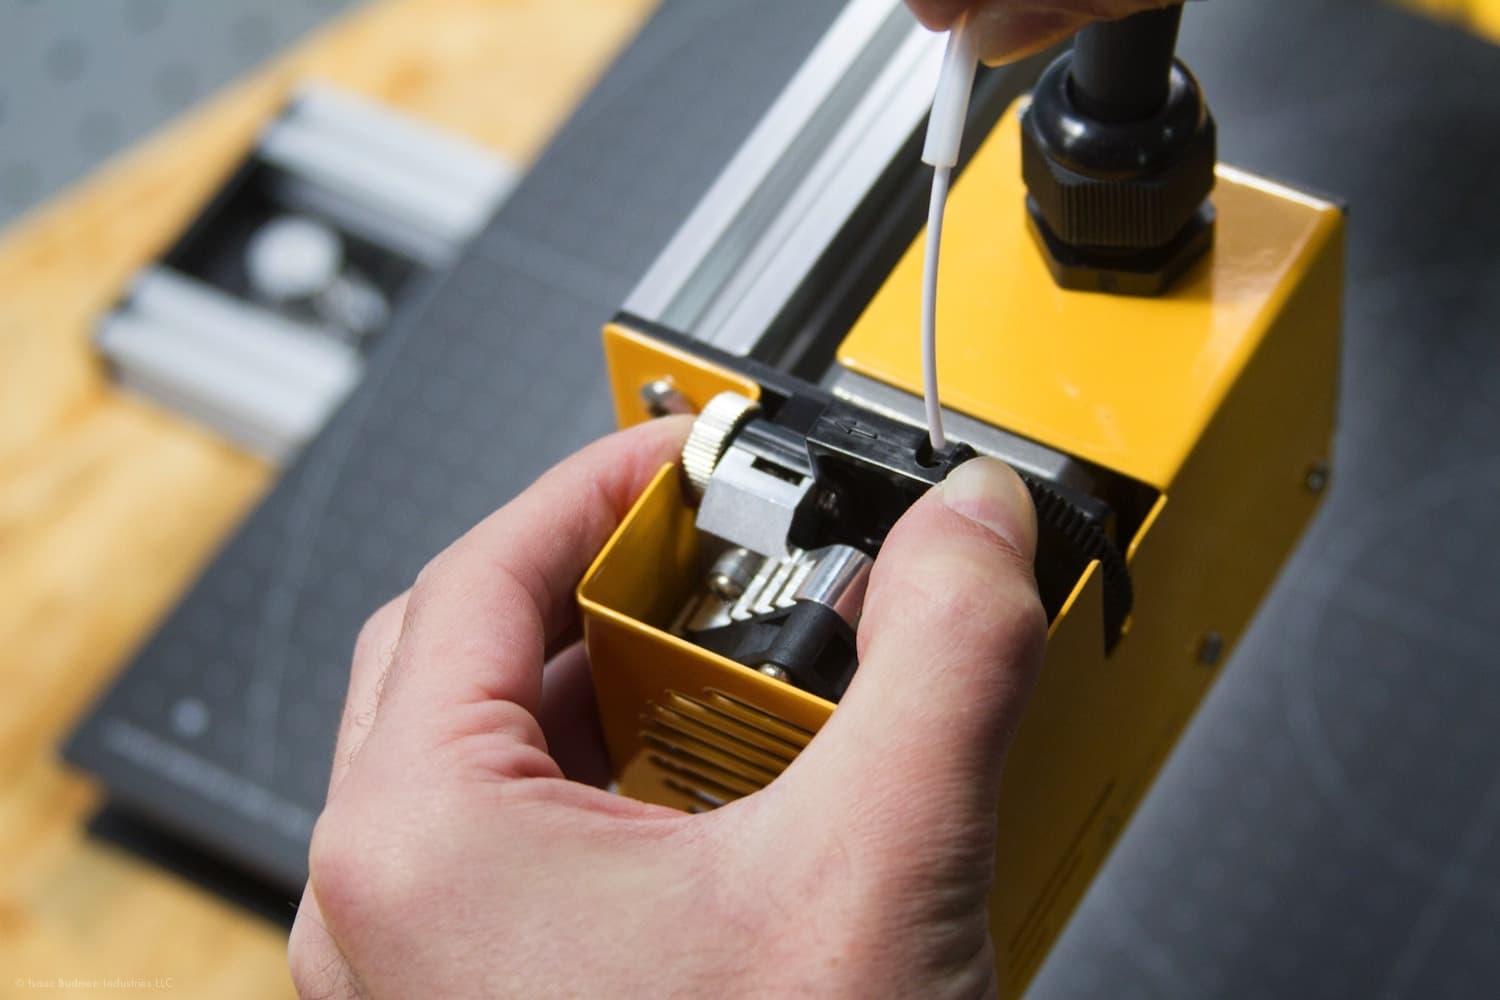
Step 2
PINCH THE LOAD LEVER
With one hand, pinch the the load lever located at the top of the extruder in the direction of the small arrow. At the same time and with the other hand, pull the filament out of the extruder. Remove the filament from the guide tube, take off the old spool, and replace it with a new spool.
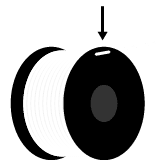
PRO-TIP
A tangled spool is a nuisance. When changing filament, hold the loose end of the filament to prevent the spool from tangling. When not in use, thread the loose ends of the filament through the two holes of the spool to keep it from tangling.
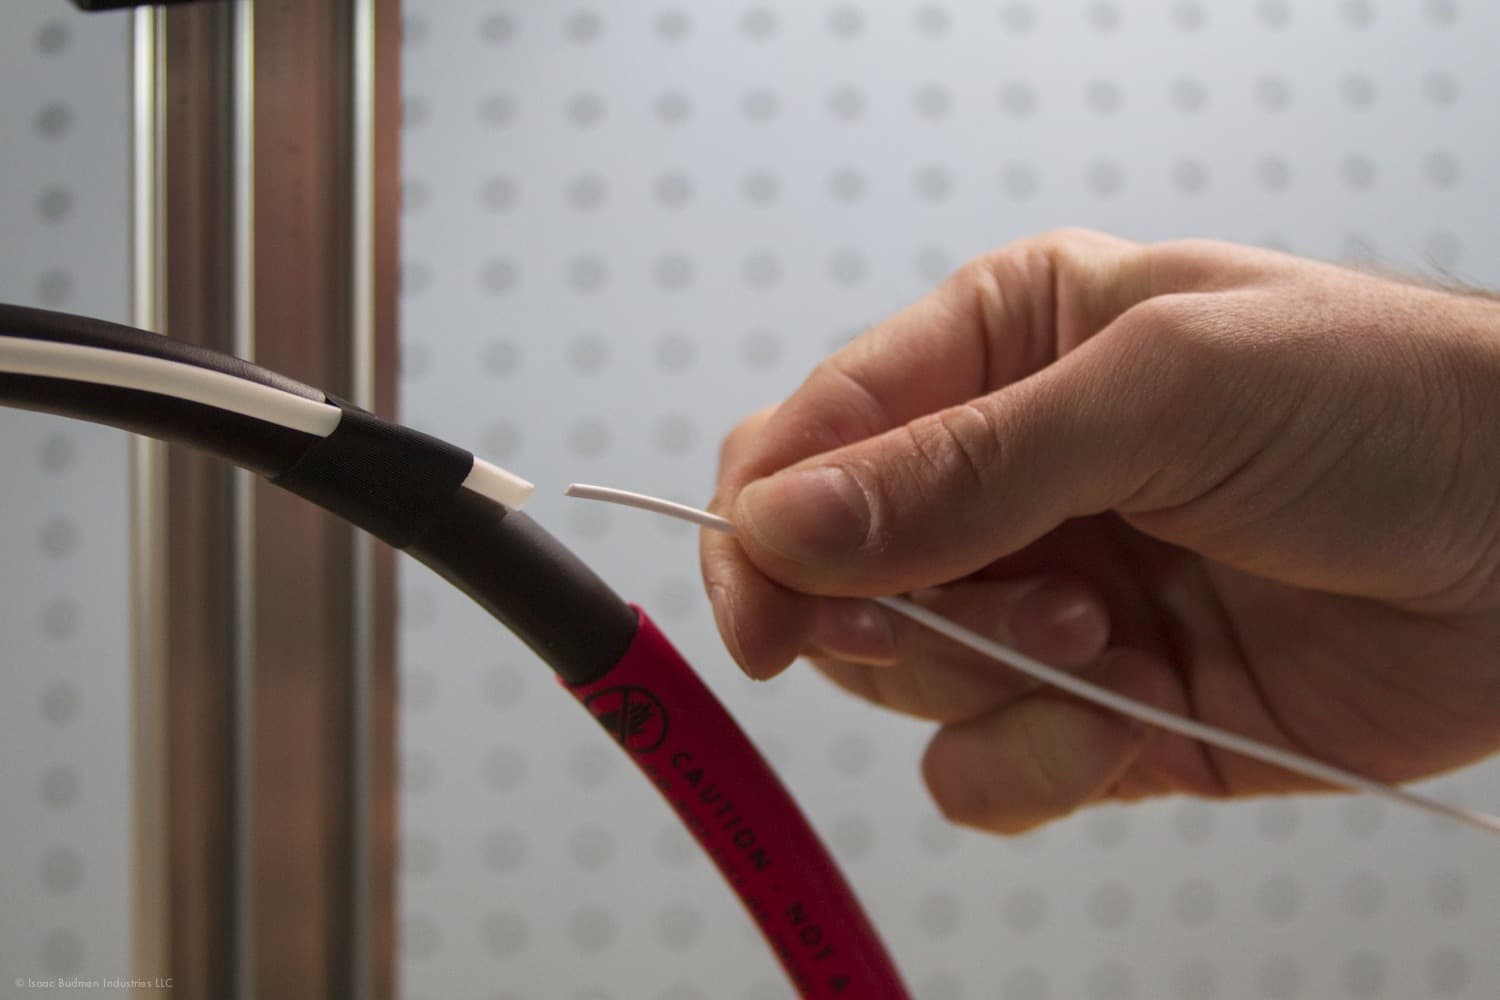
Step 3
INSERT NEW FILAMENT
Feed the new filament into the guide tube until it protrudes out the other end.
With one hand pinch the load lever, and with the other hand, insert the tip of the filament into the Printer.
Continue inserting the filament into the Printer until you see plastic extruding from the nozzle.

PRO-TIP
Watch for the new plastic to begin to extrude and push out a little extra plastic to purge any of the old filament from the nozzle.