USER GUIDE 17
How To 3D Print on Fabric
3D Printing on fabric is a great way to make semi-flexible structures, 3D printed clothing, cosplay costumes, the possibilities are endless. The open build platform on the Buildini 3D Printer is ideally suited for these experiments. This guide helps you get started 3D printing on fabric.
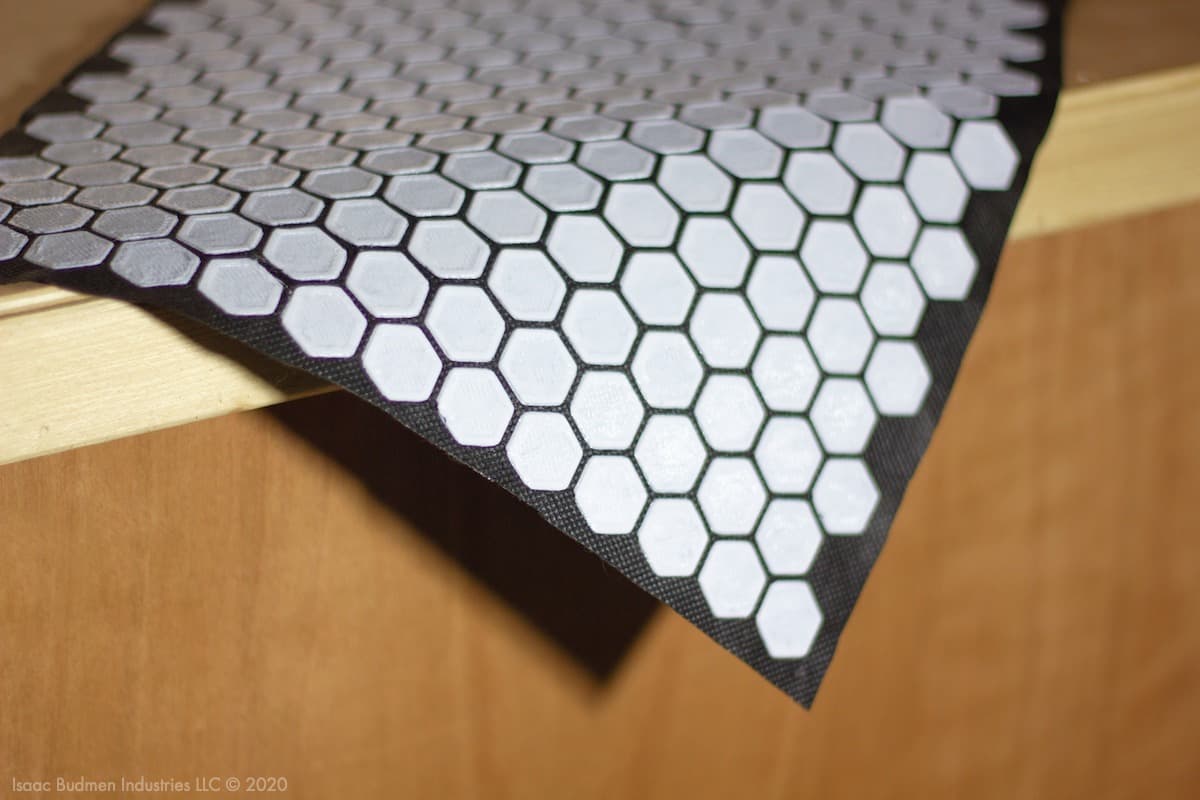
Printing on fabric allows you to create structured flexible objects like this one.
Supplies Needed
1x 325mm x 525mm Sheet of Fabric
6x Medium Size Binder Clips
1x Spool of Filament
To get a jumpstart on this project, purchase a fabric starter kit from our Store
METHOD FOR 3D PRINTING ON FABRIC
In order to print on fabric, we use what we like to call a "sandwich" method. First, on your Buildini 3D Printer, print a few layers of plastic as you normally would.
Next, stretch your fabric across the build platform and clip it to the edges of the build surface with the binder clips.
The last step is to finish 3D printing your object on the fabric. This method fuses the plastic on top of the fabric with the plastic on the bottom, and makes a sandwich with the fabric in the middle.

PRO-TIP
Mesh fabrics with an open weave works best for 3D printing. The gaps between the fibers make it easy for the plastic to flow through and adhere to the layers below. This allows for a more durable design.
Step 1
SETUP YOUR PRINT
In this step, you will setup your G-CODE file with a pause after the first couple of layers. In Simplify3D® choose your slicing settings and orient your model as you normally would. Next, open Process Settings. At the bottom of the Process Settings window click Show Advanced. When Advanced Settings opens up, click on the Scripts header. Scroll to the bottom of the Scripts Settings. In the box labeled Additional Terminal Commands for Post Processing copy and paste the code below. This bit of code will pause the print after the 3rd layer and move the print head to X0 Y0. If you need the print to pause at a different layer or want the printhead to move somewhere else on the pause, click here to learn how.
{REPLACE "\n; layer 27, Z = " "\n; layer 27\nG1 X0 Y0\nM300\nM0 Click to continue\n; layer27"}
Step 2
SAVE YOUR G-CODE AND START PRINT
Save your G-CODE as your normally would. Start your 3D print and now wait for the pause. In this tutorial, we are waiting until the third layer finishes.
Step 3
STRETCH AND CLAMP FABRIC
Once the printer has paused, it is time to stretch and clamp the fabric. Start by clamping your fabric along one end of the build platform, using two of the binder clips. Make sure the fabric is taught between the clamps. Now stretch the fabric down to the far end of the build plate and apply the last two binder clips to the corners of the platform. Make sure the fabric is taught and there are no wrinkles or sags in the fabric. If needed, add a binder clip to the front and back of the build platform to stretch any additional wrinkles out. Do not to place a binder clip anywhere on the build platform where it could hit any part of the machine or interfere with the print process. Once your fabric is stretched and clamped, go ahead and resume the print.
Step 4
WATCH YOUR PRINT
Make sure you watch the next few layers to make sure the plastic sticks to the fabric and no errors occur. Then wait for your print to finish.
We would love to see how you use the Buildini 3D Printer to print on fabric! Send us your photos or videos to: hello@ budmen.com.